Overview
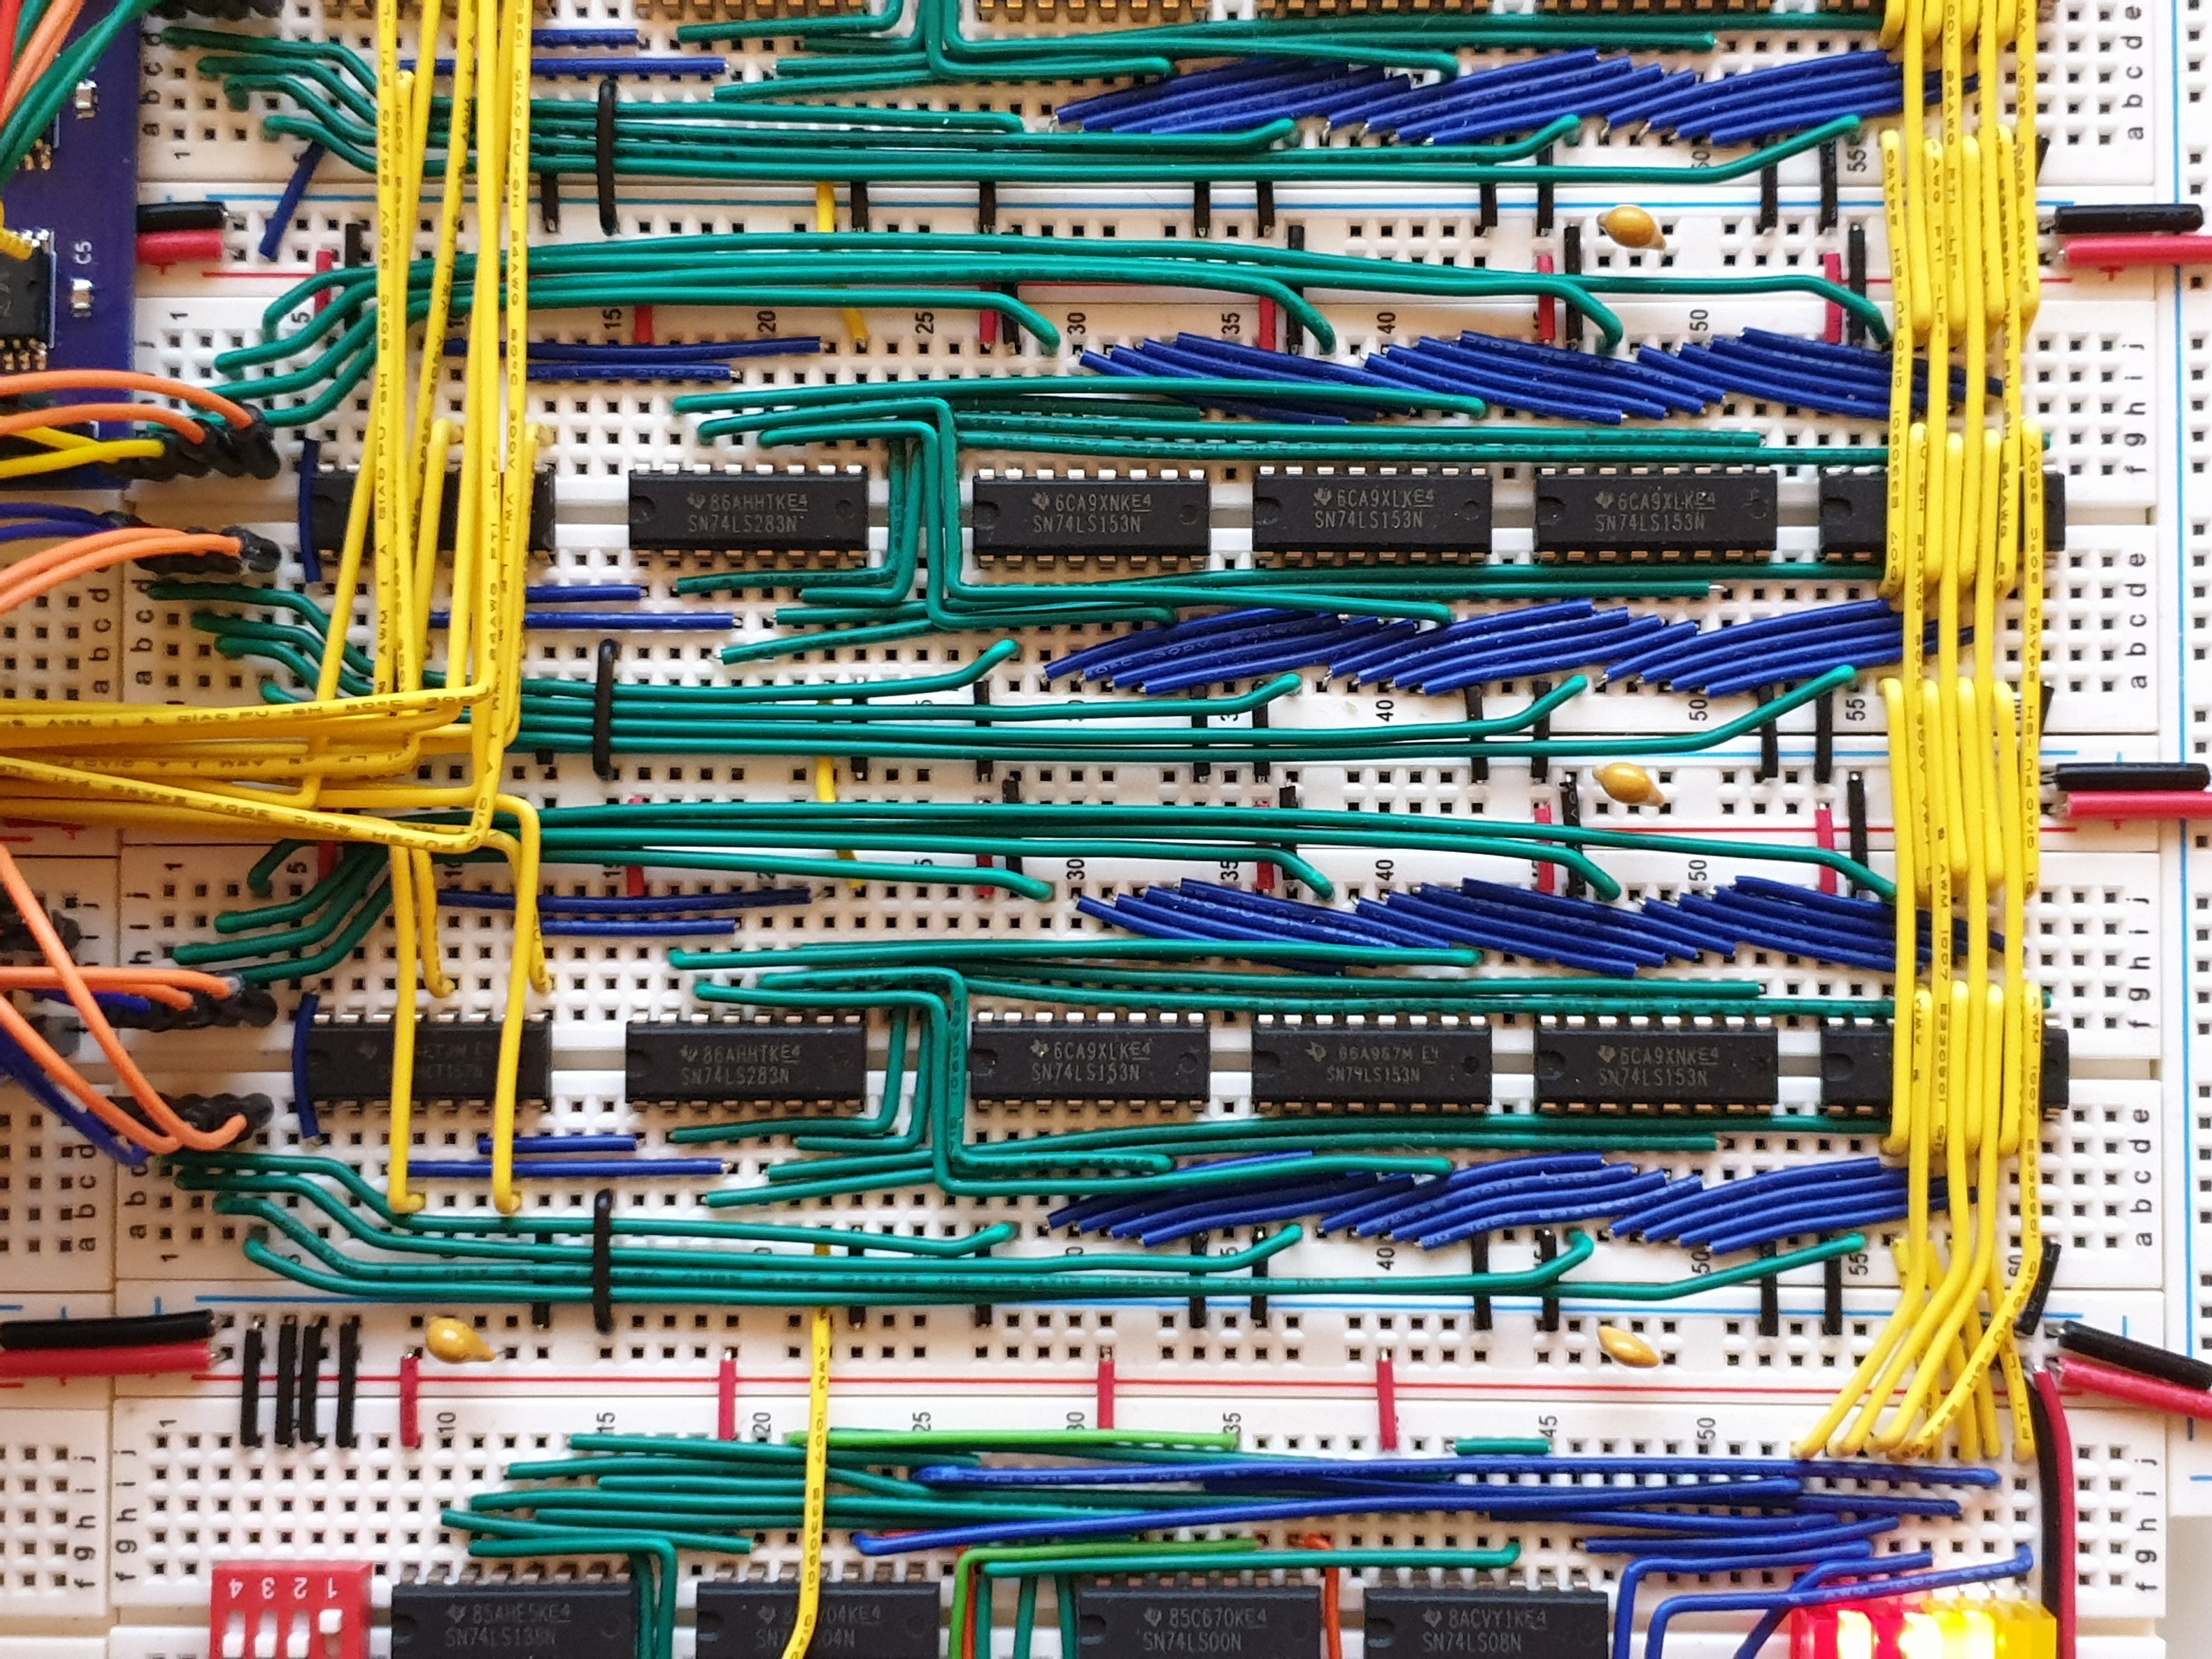
MUPS/16 is an ongoing project to build a 16-bit CPU from scratch, using only basic 74-series logic ICs (and a few ROM and RAM chips). It's still very much a work in progress, but the register, ALU, memory, MMU and and reset boards are complete, and I'm working on the control unit PCBs now.

This build was originally inspired by watching Ben Eater's 8-bit CPU video series, but I decided to try to take it a bit further and build a CPU that included a few more features of modern CPUs. Principally, this meant a more full-featured ALU, more registers and an MMU.
Originally, my intention was to build everything on breadboards, and so I restricted myself to a 16-bit design, as wiring anyting more than that on breadboards is just no fun. The breadboard-only idea went out the window pretty early on, partly because I found it painful debugging problems caused by bad connections on the cheap boards I started with, but also because I realised just how cheap PCB manufacture is these days.
As I've designed and built out pieces of the CPU I've more or less settled on the following properties:
- 16-bit design end-to-end, with no segment or offset registers. This limits the usable address space per process to 64KB, but I'm OK with that;
- multi-cycle design, with no pipelining. Each instruction takes between 3 and 5 cycles (though they can have up to 16);
- microcoded architecture, because I couldn't think of a good way to avoid that with only 16 bits per instruction (I just couldn't find a way to encode opcodes, register info and control signals in 16 bits, for anything other than a toy CPU);
- MIPS-like instruction set, despite using microcode. This was mainly because I hoped that by sticking to a RISC instruction set I would avoid the temptation to load up on special-purpose instructions, which would complicate any future version 2 with pipelining;
- at least 8 registers, since programming in assembly with fewer isn't much fun;
- some sort of useful I/O, incuding at least a PS/2 keyboard interface and a serial port, so that I could display output without having to build a VGA adaptor;
- interrupts. Again, this was partly because I had no idea how these would actually work, and partly because they would be needed for I/O;
- no microcontrollers anywhere (except for the unavoidable one built into the LCD display).
At this point, the control unit is the only major piece left to layout and build.
