Debugging the Memory Board, pt 2.
Posted on Tue 04 May 2021 in MUPS16
Three out of four ain't bad
OK, so it took a little while (real life keeps getting in the way), but I've done a bunch more testing of the memory board. The good news is that 3 of the 4 RAM chips work perfectly. I wrote a trivial test program in Python to exercise the memory by repeatedly writing 100 bytes to a random set of addresses, then reading them back to make sure the results match. What this showed was that all addresses below 0x100000 worked, as did all _even_ bytes in the range 0x100000-0x1fffff. Odd bytes in the top half of RAM, however, just don't seem to write at all. I haven't nailed down why yet: superficially, all the control signals look like they're being generated correctly. Either it's a dumb logic error I've missed in the schematic somewhere (quite likely), a bad connection somewhere (also possible) or I've fried the RAM chip that holds odd bytes somehow. For now I'm OK with moving on to fixing the MMU, since I can still use the lower 1Mb of RAM just fine.
There's one other issue: I've appear to have swapped the write LEDs for the low and high even addresses, so whenever I write a word I get the LEDs showing the wrong chips being written. Not a major problem, and if I nail down the high-odd-byte problem and do a new board I'll fix it then.
Testing the ROM copy
The other half of the memory board is the ROM. This uses the reset board to generate the appropriate SPI and board control signals to copy the contents of the two serial ROM chips into a pair of RAM chips (identical, in fact, to the RAM chips used for the system RAM proper). This copying happens automatically on system startup. I had a lot of problems getting the reset board working, since I made a lot of mistakes in the schematic, but once all the bodges were in place to get things going it appeared to be generating _almost_ the correct signals. The only issue was an occasional spike in the cs1 or cs2 lines, which would prevent the memory copy working.
To separate out testing the memory board and the reset board I added a simple function to my Arduino test server that simulated the control board operation, and generated the necessary signals. That, very surprisingly, worked first time:
/dev/ttyS4> run_rom_copy
/dev/ttyS4> read_word 0x800000
0x800000: 0x6865  he
/dev/ttyS4> read_word 0x800002
0x800002: 0x6c6c  ll
/dev/ttyS4> read_word 0x800004
0x800004: 0x6f20  o
/dev/ttyS4> read_word 0x800006
0x800006: 0x776f  wo
/dev/ttyS4> read_word 0x800008
0x800008: 0x726c  rl
/dev/ttyS4> read_word 0x80000a
0x80000a: 0x6421  d!
Back to the reset board
Since the ROM copying circuit on the memory board seemed to be working fine, I got the reset board back out and reinstalled it, to see how nicely it played with the memory board. This needed one small change to the setup: the reset board needs a running clock to generate the signals for the ROM copy, and thus far I haven't needed a clock.
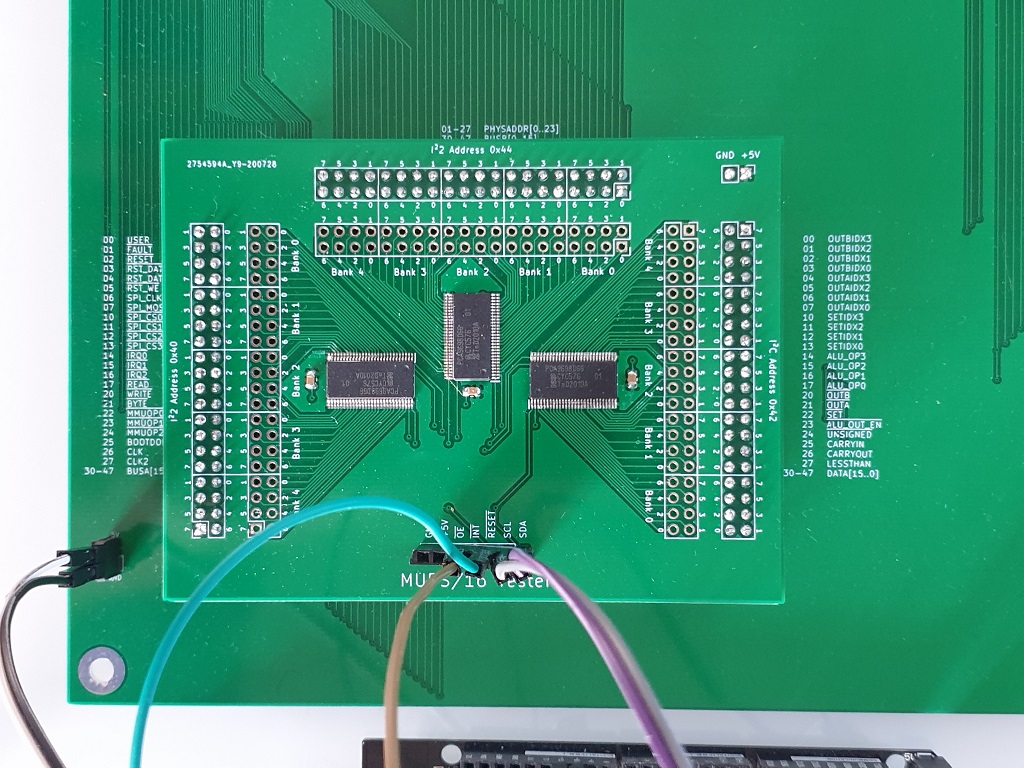
The simplest way to generate clock pulses is using the Arduino and the IO board, since it has connections for the clock line:
This does technically work, and doesn't need any changes to the existing setup, but since every clock pulse needs to be triggered by a message from the driving process on the PC, over the serial link, it's far, far too slow. The full copy sequence needs just under 525,000 clock pulses to complete, which would take many, many minutes.
To speed things up a lot, I tried adding a custom function to the Arduino worker process, pulse_line, and a matching function in the Python shell. This removes the serial communication overhead, and definitely improves things, but it's still too slow. The problem now is that driving the clock line via the IO board is easy, but since the IO board is driven via the I2C protocol it's still relatively slow to flip a bit. The final improvement was to add support for using the Arduino's built-in ports alongside the IO board ones. With this change I could define the clock line on the IO board as an input (so it is put into a high-Z state), and define one of the pins on the Arduino as the clock, and drive that directly from the pulse_line function. With that change, performance improved enough to run the copy sequence in about five seconds, plenty fast enough for testing.
Very surprisingly, when I actually ran the copy for the first time and checked to see if the ROM had copied into RAM, it worked:
/dev/ttyS4> run_clock clk 800000
/dev/ttyS4> read_mem 0x800000 32
0x800000:  0x68 0x65 0x6c 0x6c 0x6f 0x20 0x77 0x6f    hello wo
0x800008:  0x72 0x6c 0x64 0x21 0x20 0x20 0x77 0x77    rld!  ww
0x800010:  0x6f 0x6f 0x72 0x72 0x6c 0x6c 0x64 0x64    oorrlldd
0x800018:  0xff 0x21 0xff 0xff 0xff 0xff 0xff 0xff    ÿ!ÿÿÿÿÿÿ
The garbage after hello world! is because I only wrote a few bytes to the ROM chip. I need to go back and fill it up, so I can verify it more thoroughly. Note I'd also been frustrated enough running read_word repeatedly to write a dedicated read_mem shell function by this point.
As to why it works now when it didn't before, I can only assume that it's because the first time round I used my old breadboard clock, and since that was the first circuit I put together it's highly likely it's got glitches of its own.
Anyway, onwards to fixing the MMU now...